
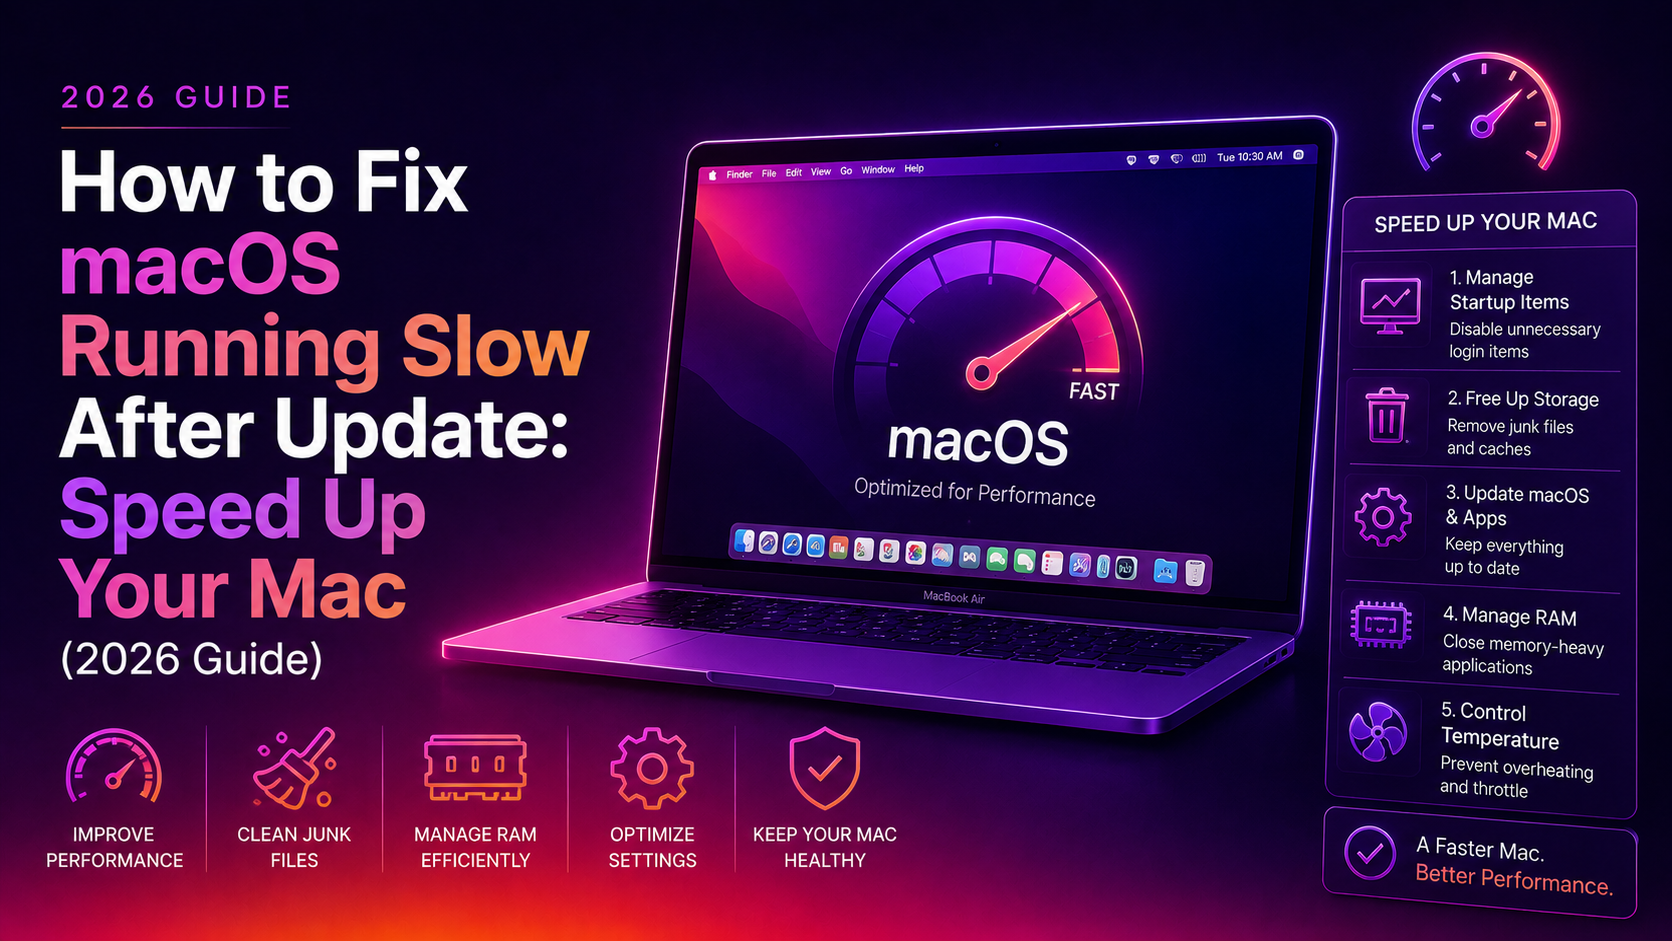
Your Mac was fast before the update — and now it crawls. This is one of the most common complaints after a macOS upgrade, and it almost always has a fixable cause. Whether you're on macOS Sequoia, Sonoma, or Ventura, this guide covers every proven method to fix macOS running slow after an update and get your Mac back to full speed.
Why Does macOS Get Slow After an Update?
A few things happen immediately after a macOS update that cause temporary slowness:
- Spotlight re-indexing: macOS rebuilds its search index after every major update — this runs in the background and hammers the CPU/disk for hours
- iCloud and Photos re-syncing: Cloud sync kicks in after the update to reconcile changes
- Background app updates: App Store updates auto-download and install
- First-boot optimisation: macOS optimises its system files on first boot after an update
If your Mac is slow for more than 24 hours after an update, the cause is likely something deeper — login items, low disk space, insufficient RAM, or a process stuck at high CPU. The steps below fix all of these.
💡 None of these worked? Skip the guesswork.
Get Expert Help →Step 1 — Wait and Check Activity Monitor First
Before making changes, check what's actually using your resources:
1. Open Activity Monitor (Spotlight → Activity Monitor or Applications → Utilities → Activity Monitor)
2. Click the CPU tab — sort by % CPU descending. If mds_stores or mdworker are at the top, Spotlight indexing is in progress — wait a few hours and the slowness will resolve automatically.
3. Click the Memory tab — check Memory Pressure at the bottom. If the bar is red, your Mac is running out of RAM and using slow swap memory on disk.
Step 2 — Rebuild Spotlight Index
Sometimes the Spotlight index gets corrupted during an update, causing mds_stores to run indefinitely. Force a rebuild:
1. Go to System Settings → Siri & Spotlight → Spotlight Privacy
2. Click the + button and add your Macintosh HD (your main drive) to the privacy list — this tells Spotlight to stop indexing it
3. Wait 10 seconds, then select Macintosh HD in the list and click − to remove it
This forces Spotlight to start a fresh index from scratch. The process runs in the background and completes within a few hours.
Step 3 — Manage Login Items and Background Apps
Every app that launches at startup consumes RAM and CPU from the moment you log in.
1. Go to System Settings → General → Login Items
2. Review the list. Remove anything you don't need at startup — cloud sync clients for services you rarely use, creative apps, old utilities
3. Also check Allow in Background — disable background activity for apps that don't need it
4. Restart your Mac and check if performance improves
Step 4 — Free Up Disk Space
macOS needs at least 15–20% free disk space to run efficiently. When storage is nearly full, virtual memory (swap) operations slow everything down.
1. Go to Apple Menu → About This Mac → More Info → Storage
2. Click Storage Settings to open the storage management panel
3. Use the built-in recommendations: store in iCloud, optimise storage, empty trash automatically
4. Manually delete large files: go to the Documents category and sort by size — delete anything you no longer need
For deeper cleanup, remove old macOS installers from Applications, clear Xcode caches (~/Library/Developer/Xcode/DerivedData), and empty the Trash.
Step 5 — Reset NVRAM and SMC
NVRAM stores display settings, startup disk, and time zone info. SMC (System Management Controller) manages power and thermal performance. Both can get into a bad state after an update.
Reset NVRAM (Intel Macs only):
Shut down your Mac. Press the power button, then immediately hold Option + Command + P + R for about 20 seconds until you hear the startup chime twice. Release the keys.
Reset SMC on Intel MacBook (with T2 chip):
Shut down. Hold Control + Option + Shift (right side) for 7 seconds, then add the power button and hold all four for another 7 seconds. Release, wait 5 seconds, then power on normally.
For Apple Silicon Macs (M1/M2/M3/M4):
There is no SMC to reset. Shut down fully (Apple Menu → Shut Down), wait 30 seconds, then power on. This achieves the same effect.
Step 6 — Check for Incompatible or Runaway Apps
Some apps are not yet updated for the new macOS version and run in a Rosetta translation layer or hang in compatibility mode, consuming excessive CPU.
# In Terminal — find top 5 CPU consumers
top -l 1 -s 0 | grep -v "top\|PID\|Load\|CPU\|Proc\|SharedLibs\|MemRegions\|PhysMem\|VM\|Networks\|Disks" | head -10
If you see an app you use consuming 80–100% CPU consistently, check the developer's website for a macOS-compatible update. In the meantime, force quit it: Option + Command + Escape → select the app → Force Quit.
Step 7 — Reinstall macOS Over Itself (Last Resort)
If all else fails, macOS can be reinstalled over the existing installation without erasing your data. This replaces system files without touching your apps or documents.
Restart in Recovery Mode (Intel: hold Command + R at startup; Apple Silicon: hold the power button until "Loading startup options" appears), then select Reinstall macOS. The process takes 30–60 minutes.
If your Mac continues to run slowly after these steps, it may be a hardware issue — aging HDD instead of SSD, RAM beginning to fail, or thermal throttling due to dust. CloudHouse Technologies provides remote Mac support for software performance issues — diagnosis and fixes without a trip to the Apple Store.