
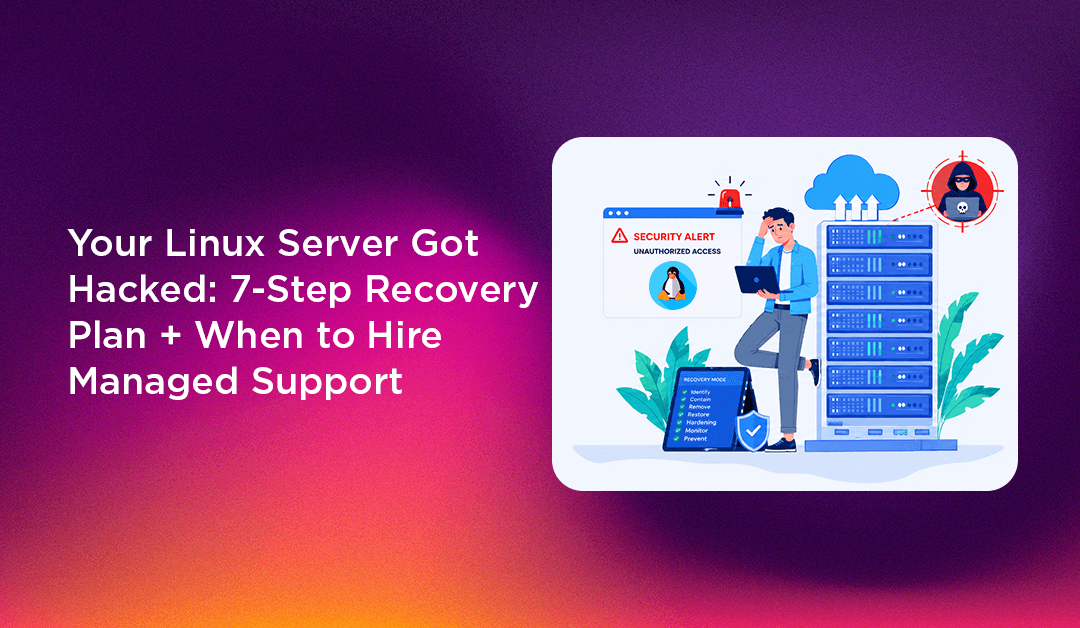
Discovering your Linux server has been compromised is one of the worst moments in server management. Files have been modified, processes you don't recognise are running, and your hosting clients are starting to notice. The instinct is to start deleting things — but the wrong move right now makes the situation significantly worse. This guide walks through the exact steps to contain, recover, and harden your server after a breach, and honestly assesses when the complexity of incident response means it's time to call in professional help.
Signs Your Linux Server Has Been Hacked
Act fast if you see any of these:
- Unknown processes consuming CPU or network bandwidth (
top,netstat -tulpn) - Unfamiliar user accounts in
/etc/passwdor entries in/etc/sudoers - SSH login alerts from unrecognised IPs in
/var/log/secureor/var/log/auth.log - Webmin or cPanel showing file modifications you didn't make
- Emails flagged as spam, your IP appearing on blacklists
- Website defacement or unexpected redirects
- Abnormal outbound traffic in your hosting provider's bandwidth graph
- Cron jobs you didn't create (
crontab -landcat /etc/cron*)
If you see two or more of these simultaneously, treat it as a confirmed compromise and act immediately.
💡 None of these worked? Skip the guesswork.
Get Expert Help →Step 1: Isolate the Server (First 15 Minutes)
Before anything else, contain the breach to prevent it spreading.
If your VPS provider has a firewall dashboard (Vultr, Hetzner, DigitalOcean), use it to block all traffic immediately except your own IP. This stops the attacker's remote access and halts any ongoing data exfiltration.
# Emergency iptables lockdown — allow only your IP (replace x.x.x.x)
iptables -I INPUT -s x.x.x.x -j ACCEPT
iptables -I INPUT -j DROP
iptables -I OUTPUT -d x.x.x.x -j ACCEPT
iptables -I OUTPUT -j DROPRebooting destroys volatile evidence in memory — running processes, open connections, and temporary files that reveal what happened. Preserve this data first.
Most VPS providers let you snapshot a running server. Take one now — it preserves the compromised state for forensic analysis and gives you a rollback point.
Step 2: Document and Preserve Evidence
# Capture running processes
ps auxf > /tmp/processes_$(date +%s).txt

# Capture open network connections
netstat -tulpn > /tmp/netstat_$(date +%s).txt
ss -tulpn >> /tmp/netstat_$(date +%s).txt

# List recently modified files (last 24 hours)
find / -mtime -1 -not -path "/proc/*" -not -path "/sys/*" > /tmp/recent_files_$(date +%s).txt

# Check for recently added cron jobs
crontab -l > /tmp/crontabs_$(date +%s).txt
ls -la /etc/cron* /var/spool/cron/ >> /tmp/crontabs_$(date +%s).txt

# Check for new user accounts
grep -v "nologin\|false" /etc/passwd > /tmp/users_$(date +%s).txt
Save these files off-server immediately (copy to your local machine via SCP while you still have access).
Step 3: Identify the Entry Point
Cleaning without finding how they got in means you'll be hacked again within days.
# SSH auth failures and successes
grep "Failed password\|Accepted password\|Accepted publickey" /var/log/secure | tail -50
# or on Debian/Ubuntu:
grep "Failed\|Accepted" /var/log/auth.log | tail -50

# Web server access log — look for exploit patterns
grep -E "(eval\(|base64_decode|shell_exec|system\(|passthru)" /var/log/httpd/access_log | tail -30

# Look for web shells
find /var/www -name "*.php" -mtime -7 | xargs grep -l "eval\|base64_decode\|system(" 2>/dev/null
Common entry points: outdated WordPress plugins or themes, an exposed phpMyAdmin with a weak password, brute-forced SSH credentials, or a misconfigured file upload handler.
Step 4: Remove Malicious Files and Backdoors
This is the hardest step — and the one most often done incorrectly.
Web shells (PHP backdoors attackers upload to maintain access):
# Find PHP files with common backdoor signatures
find /var/www -name "*.php" | xargs grep -l "eval(base64" 2>/dev/null
find /var/www -name "*.php" | xargs grep -l "\$_POST\[.*exec\|shell_exec\|system" 2>/dev/null
Rootkits (kernel-level backdoors that hide processes and files): Run chkrootkit and rkhunter to scan for known rootkits. If either finds a positive, a full OS reinstall is the only guaranteed clean option — rootkits embed themselves into system binaries and cannot be reliably removed by hand.
yum install chkrootkit rkhunter   # RHEL/CentOS
chkrootkit
rkhunter --check
Malicious cron jobs: Remove any entries you didn't create in crontab -l, /etc/cron.d/, /etc/cron.hourly/, /var/spool/cron/.
Unauthorised user accounts: Lock or delete any accounts you didn't create:
passwd -l suspicioususer   # lock account
userdel -r suspicioususer  # or delete entirely
Step 5: Verify the Server Is Actually Clean
This is where most DIY recoveries fail. Attackers often plant multiple backdoors — removing one visible web shell while a rootkit or second backdoor remains means you're still compromised.
Verification checklist:
- Run a full malware scan:
maldet -a /var/www/(Linux Malware Detect) - Check all SUID binaries:
find / -perm -4000 -type f 2>/dev/null— compare against a clean server's list - Verify system binary integrity:
rpm -Va(RHEL/CentOS) compares installed packages against their checksums — modified binaries (like a replacedssh) show up here - Check
/etc/ld.so.preload— attackers use this file to inject malicious shared libraries into every running process - Review
/etc/ssh/sshd_configfor unauthorised changes (added keys, changed ports, enabled password auth)
If you find a rootkit, or if rpm -Va shows modified system binaries — stop. A full reinstall is safer and faster than trying to clean a rootkitted system.
Step 6: Harden and Update Everything
Before bringing the server back online:
- Change all passwords: root, all cPanel/Webmin accounts, database passwords, SFTP credentials
- Rotate all SSH keys: revoke existing keys, generate new ones
- Disable password SSH authentication: edit
/etc/ssh/sshd_config→PasswordAuthentication no - Update everything:
yum update -yorapt update && apt upgrade -y— patch the vulnerability that was exploited - Update all CMS software: WordPress core, themes, plugins — every outdated plugin is an attack surface
- Install and configure Fail2Ban to block future brute-force attempts
- Enable a firewall: CSF (ConfigServer Firewall) integrates with Webmin and cPanel
Step 7: Restore From Clean Backup (If Available)
If you have a clean backup from before the compromise, restoring it is faster and more reliable than manual cleanup — especially for web files. Restore the backup, then apply all security hardening on top of it so the original vulnerability is patched.
If you don't have a clean backup: this incident is your wake-up call. Set up automated daily backups now, stored off-server (S3, Backblaze, separate VPS).
The Honest Economics: DIY Recovery vs. Managed Server Support
A typical server compromise incident takes a competent sysadmin 8–30 hours to fully resolve: evidence gathering, root cause analysis, malware removal, verification, hardening, and client communication. At consulting rates of $50–$100/hour, that's $400–$3,000 for a single incident.
And that assumes the cleanup is successful. Without the tools and experience to verify a rootkit was fully removed — or that there isn't a second backdoor — you may put the server back online still compromised. When it gets hacked a second time three weeks later, the cycle starts again.
Managed server support typically costs $100–$400/month and includes 24/7 monitoring, proactive security patching, intrusion detection, and incident response. For most small hosting companies, a single prevented incident pays for an entire year of managed support.
Ask yourself honestly: do you have the time, tools, and expertise to verify your server is genuinely clean after a compromise? If the answer is uncertain, that uncertainty is the answer.
CloudHouse Technologies provides managed Linux server support including security incident response, proactive hardening, and 24/7 monitoring — so the next breach attempt gets stopped before it succeeds.